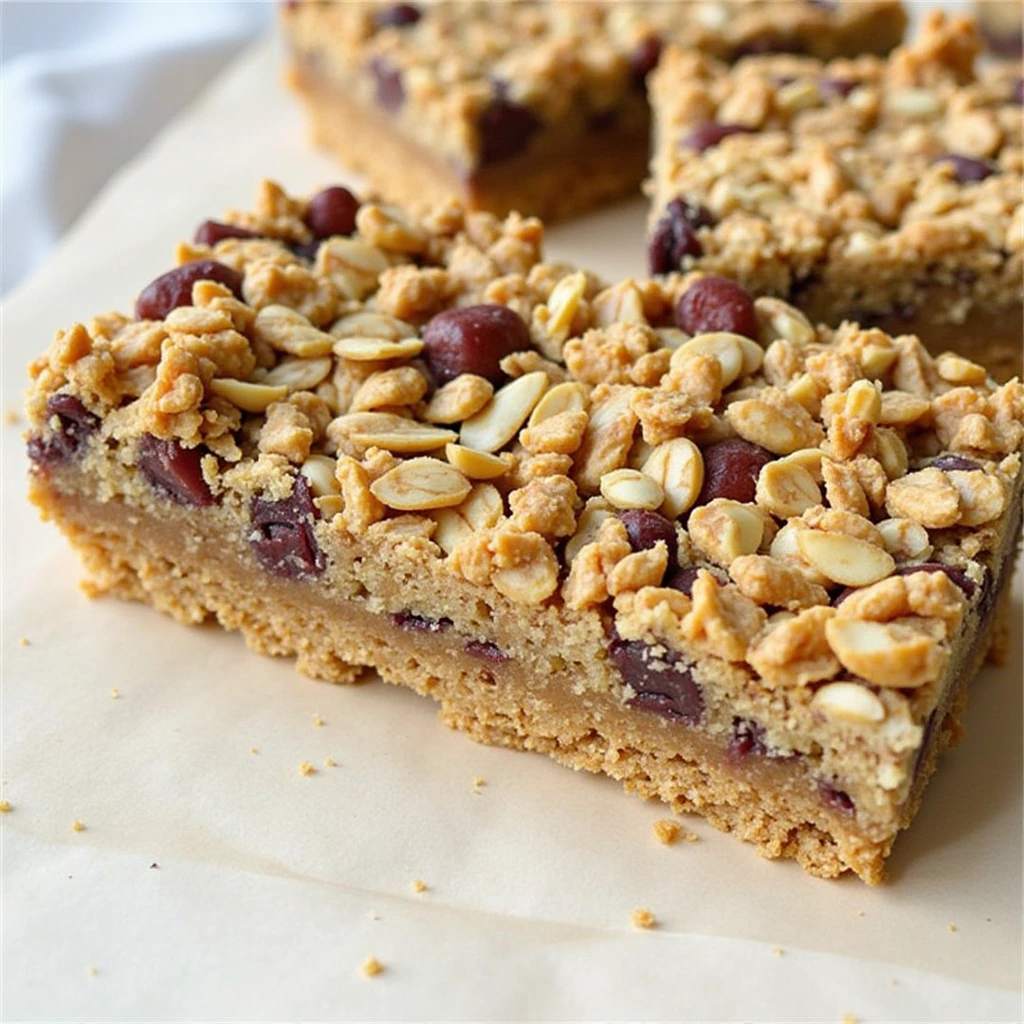
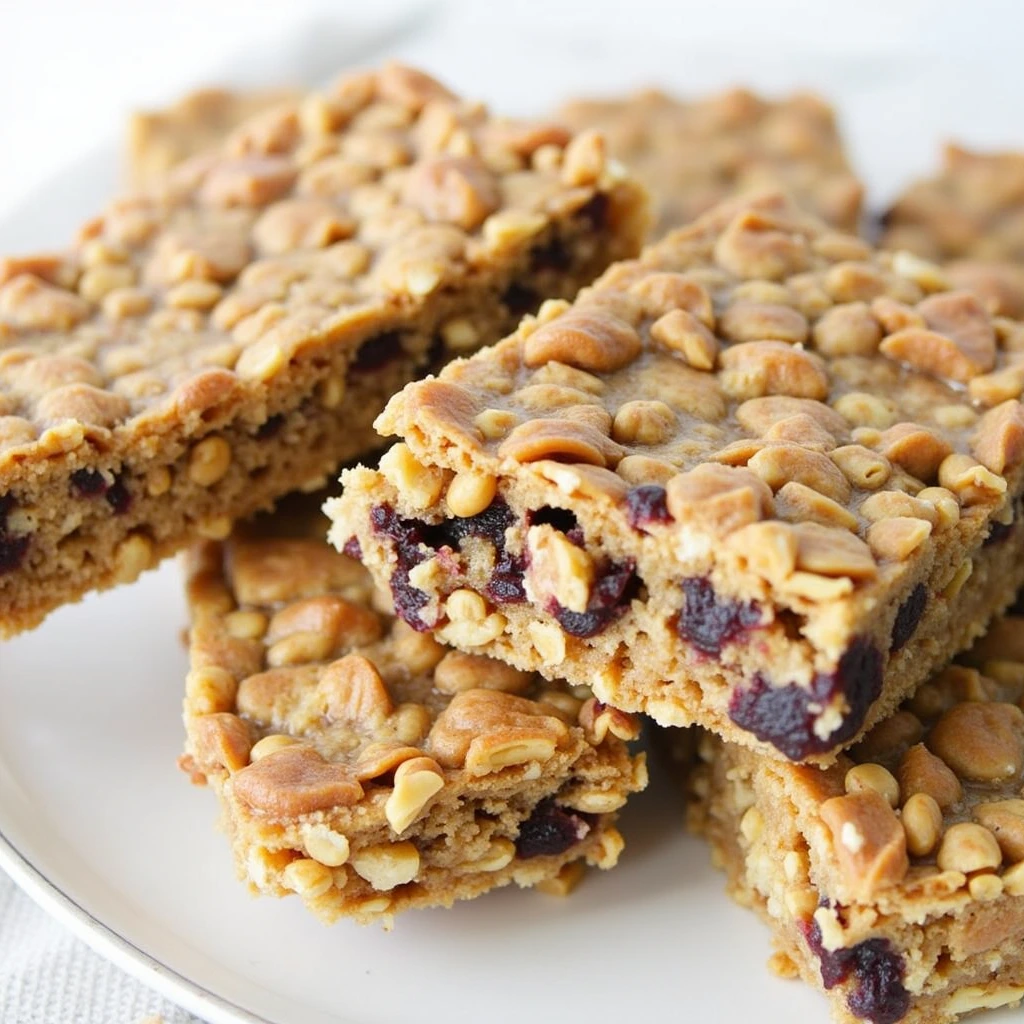
Life often feels fast-paced, and finding a healthy, convenient snack that fits your dietary needs can sometimes be a challenge. You’ve probably reached for a granola bar before, only to discover it’s packed with added sugars, preservatives, or gluten. If this sounds familiar, don’t worry—there’s a solution. No Bake Gluten Free Granola Bars are the answer, combining wholesome ingredients, convenience, and flavor in a snack that can be enjoyed by anyone, regardless of dietary restrictions.
Whether you’re looking for a quick breakfast, a mid-afternoon energy boost, or a post-workout snack, these bars are the perfect choice. And the best part? You don’t even need an oven to make them! In this article, we’ll walk you through everything you need to know to make these easy, healthy granola bars, including a step-by-step recipe, tips for perfecting your bars, and answers to some common questions. By the end, you’ll be ready to make your own batch of delicious, no-bake, gluten-free granola bars at home.
What Are No Bake Gluten Free Granola Bars?
No bake gluten-free granola bars are simply granola bars that are made without using an oven. Instead of baking, these bars are set in the fridge to firm up. This makes them incredibly easy and quick to prepare, requiring only a few ingredients and minimal kitchen equipment. Since they don’t contain any flour or gluten, these bars are a great choice for anyone following a gluten-free diet.
These granola bars typically combine oats, nuts, seeds, dried fruit, and a sticky sweetener like honey or maple syrup, all bound together with a bit of peanut butter or almond butter. You can make them as healthy or indulgent as you like, depending on the ingredients you choose. They’re customizable, filling, and perfect for those busy days when you need something nutritious on the go.
Benefits of No Bake Gluten Free Granola Bars
1. Convenience and Time-Saving
One of the biggest benefits of making no-bake granola bars is the convenience. With just a few simple steps and no baking time required, these bars are incredibly easy to prepare. All you need is a bowl, some basic ingredients, and a refrigerator to set them in. Unlike traditional granola bars that require an oven, these bars allow you to whip up a batch quickly, making them the perfect snack for anyone with a busy lifestyle.
2. Nutrient-Packed and Customizable
No bake gluten free granola bars are not just easy to make—they’re also packed with nutrients. When you use ingredients like oats, nuts, seeds, and dried fruit, you’re providing your body with fiber, protein, healthy fats, and essential vitamins and minerals. These bars can be customized to fit your dietary preferences, so you can make them as nutritious or as indulgent as you like. You can also adjust the sweetness by using natural sweeteners like honey or maple syrup instead of refined sugars.
3. Ideal for a Gluten-Free Lifestyle
For those with gluten sensitivities or celiac disease, finding safe snack options can be a challenge. Fortunately, no-bake gluten-free granola bars are naturally free from gluten when made with certified gluten-free oats and other safe ingredients. This makes them an excellent option for those looking to stick to a gluten-free lifestyle without sacrificing flavor or convenience.
4. Perfect for Meal Prep
Another great advantage of these bars is that they’re perfect for meal prep. You can make a big batch and store them in the fridge for up to a week, meaning you have a quick, healthy snack on hand whenever you need it. Whether you need a snack before heading to the gym or a quick breakfast before heading out the door, these granola bars can be your go-to option.
How to Make No Bake Gluten Free Granola Bars: Step-by-Step Recipe
Now that you know what these bars are and why they’re beneficial, it’s time to get into the specifics of how to make them. Follow this simple recipe, and you’ll have your own batch of homemade, no-bake, gluten-free granola bars ready to go in no time.
Ingredients for No Bake Gluten Free Granola Bars
| Ingredients | Amount | Benefits |
|---|---|---|
| Gluten-Free Oats | 2 cups | High in fiber, helps regulate digestion and cholesterol levels |
| Peanut Butter (or Almond) | 1/2 cup | Protein-packed, healthy fats |
| Honey | 1/4 cup | Natural sweetener, energy-boosting |
| Ground Flaxseed | 2 tbsp | Rich in omega-3 fatty acids and fiber |
| Chia Seeds | 2 tbsp | Antioxidant-rich, supports digestive health |
| Dried Fruit (e.g., cranberries) | 1/2 cup | Natural sweetness, full of vitamins |
| Nuts (almonds, walnuts) | 1/4 cup | Protein-rich, keeps you fuller longer |
| Vanilla Extract | 1 tsp | Flavor enhancer |
Step-by-Step Instructions for Making No Bake Gluten Free Granola Bars
- Prepare the Pan: Start by lining an 8×8 inch baking dish with parchment paper or plastic wrap to ensure easy removal later.
- Mix Wet Ingredients: In a medium bowl, combine the peanut butter (or almond butter), honey, and vanilla extract. Stir until smooth. If your peanut butter is too thick, you can heat it slightly in the microwave to make it easier to mix.
- Combine Dry Ingredients: In a large mixing bowl, combine the gluten-free oats, ground flaxseed, chia seeds, dried fruit, and nuts. Mix them together so that everything is evenly distributed.
- Add Wet to Dry: Pour the peanut butter mixture into the dry ingredients and stir well until everything is fully combined. The mixture should be sticky, but not too wet. If it feels too dry, you can add a bit more honey or peanut butter.
- Press into the Pan: Transfer the mixture into the prepared pan and press it down firmly using a spatula or your hands. Pressing down the mixture helps the bars stick together and gives them a compact texture.
- Chill and Set: Refrigerate the bars for at least 2 hours or until they firm up. This is where the magic happens—without baking, the fridge will help the bars set perfectly.
- Slice and Serve: Once the bars have firmed up, remove them from the pan and cut them into squares or rectangles. Serve immediately or store them in an airtight container in the fridge.

Tips for Perfect No Bake Gluten Free Granola Bars
1. Use Certified Gluten-Free Oats
Ensure that you use certified gluten-free oats for your granola bars to avoid any gluten contamination. While oats are naturally gluten-free, they can sometimes be processed in facilities that handle gluten-containing grains.
2. Customize Your Flavor
You can add a variety of flavorings to your granola bars to make them your own. Consider adding cinnamon, cocoa powder, or coconut flakes for extra flavor. You can also mix in chocolate chips, dried coconut, or even a few tablespoons of protein powder to give your bars an extra boost.
3. Press Firmly
The key to ensuring your granola bars hold together well is to press down the mixture firmly in the pan. If you don’t press it down enough, the bars may fall apart when you cut them. So don’t skip this step!
4. Store Properly
These bars can be stored in an airtight container in the fridge for up to a week. You can also freeze them for longer storage—just wrap them individually for easy grab-and-go snacks.
Customizing Your No Bake Gluten Free Granola Bars
One of the best things about no-bake gluten-free granola bars is that they’re incredibly customizable. If you have a favorite snack or flavor, you can easily incorporate it into your bars. Here are a few ideas:
- Chocolate Chips: Add a handful of dark chocolate chips or cocoa nibs for a touch of sweetness.
- Nuts and Seeds: Add pumpkin seeds, sunflower seeds, or cashews for extra crunch.
- Dried Fruit: Experiment with different dried fruits like apricots, raisins, or dates for added sweetness and texture.
For a quick recap here is a link to our video about No bake Gluten Free Granola Bars https://youtu.be/UX5aSo2i4hw
Craving for more gluten free recipes visit https://www.auntyrecipes.com/does-any-fast-food-have-gluten-free-options/
FAQs About No Bake Gluten Free Granola Bars
Can I make these bars vegan?
Yes! To make your granola bars vegan, simply swap the honey for maple syrup or agave nectar, and use a plant-based peanut butter.
How long do no-bake granola bars last?
These bars will last up to a week when stored in an airtight container in the fridge. You can also freeze them for up to three months.
Can I add chocolate to these granola bars?
Absolutely! Feel free to add chocolate chips or cocoa powder to give your bars a delicious chocolatey flavor.
Can I use a different nut butter?
Yes! You can use almond butter, sunflower seed butter, or cashew butter as an alternative to peanut butter.
Conclusion: Make Your Own No Bake Gluten Free Granola Bars Today!
Now that you know how to make your own no-bake gluten-free granola bars, why not give it a try? These bars are not only healthy and nutritious, but they’re also incredibly customizable to suit your personal taste.

